Showing posts with label Boy stuff. Show all posts

Sunday, September 25, 2011

Stashbusted Birthday Gift #2!

Today we got invited to a birthday party by our friend's from church.. and of course it was two hours after the service.  So guess who didn't have a gift?
So we got home and I whipped up this quick gift for Jonah!
I used my plaques, knobs, paint, scrapbook paper and a piece of wood to mount it on.
Hope he loves it.
I am sharing with


Sumo's Sweet Stuff
Love,
Pinkapotamus
Enhanced by Zemanta

Wednesday, September 21, 2011

A Moment of Inspiration

Do you ever find yourself going to check out the same sights all the time?  Well one of my very favorites is Pottery Barn kids.  Now on a normal basis I cannot afford anything that they offer but I just adore all of their kids bedding sets.. right now my favorite is the new boys Bryce Truck bedding. 
Bryce Trucks Quilted Bedding
A while back I bought some canvases and I covered one of them with magazine pictures.
Then I painted over it with brown paint and added a scrapbook paper "picture frame".
Then I added my scrapbook truck and decoupaged it on.

Last I added some stars and the work TRUCK.
Once the glue dried it looked like this.
Voila.. inspiration and a finshed project.. finally!
I am sharing with
Katie's Nesting Spot
button


Party Button

Catch a Glimpse Button


Love,
Pinkapotamus
Enhanced by Zemanta

Saturday, July 23, 2011

Stashbusting Inspiration

Okay.. obviously stashbusting September doesn't start until September.. but signups are starting NOW.. so I thought that I would offer a stashbusting project that I have been thinking about doing for a LOOOOONG time!  This is the crafty kick in the butt that I needed!
So here it is .. my dino speciman art!

No.. I don't have any dino rooms in the making.. but I just love dino art and found these sweet dinos at the $1 store and had to have them!
So here is what I used from my stash..
Boy paper, wood dinos, canvas, paint and glue.
First I glued a piece of leafy looking paper to my canvas.

Next I painted all of my outside edges brown.

Then I glued patterned paper onto my wood dinos.

Last I glued my dinos onto my canvas.

Yay.. a cute project and a stash bust!  Hooray.. now if you want to join in the fun don't forget to stop by here


and add your name to the list!
I am sharing with

Photobucket

 
Love,
Pinkapotamus

Wednesday, May 18, 2011

Canvas Bag to Tool Belt

Yesterday I shared a tutorial on how to make an owl bag out of an old canvas bag.

Well today I am sharing what I made with the left over top of the bag. 

I have three kids.. two boys and one girl and of course if I make something for one of them I have to make something for all of them.  So that being said I had to come up with something quick after giving my daughter the owl bag.
I decided that the top would make an adorable tool belt for the boys!
So here's how I made it!

Ingredients
Top of canvas bag
camo fabric
pins
thread

First I started by cutting the edges straight and ironing them flat.  Then I sewed them into place.
Next I cut out the shapes for the pockets and tie.

I sewed the tie with the wrong sides together and then sewed it onto the top of the belt.

Next I pinned the pockets and the hammer loop into place on the pouch.

Last I sewed the pockets on.

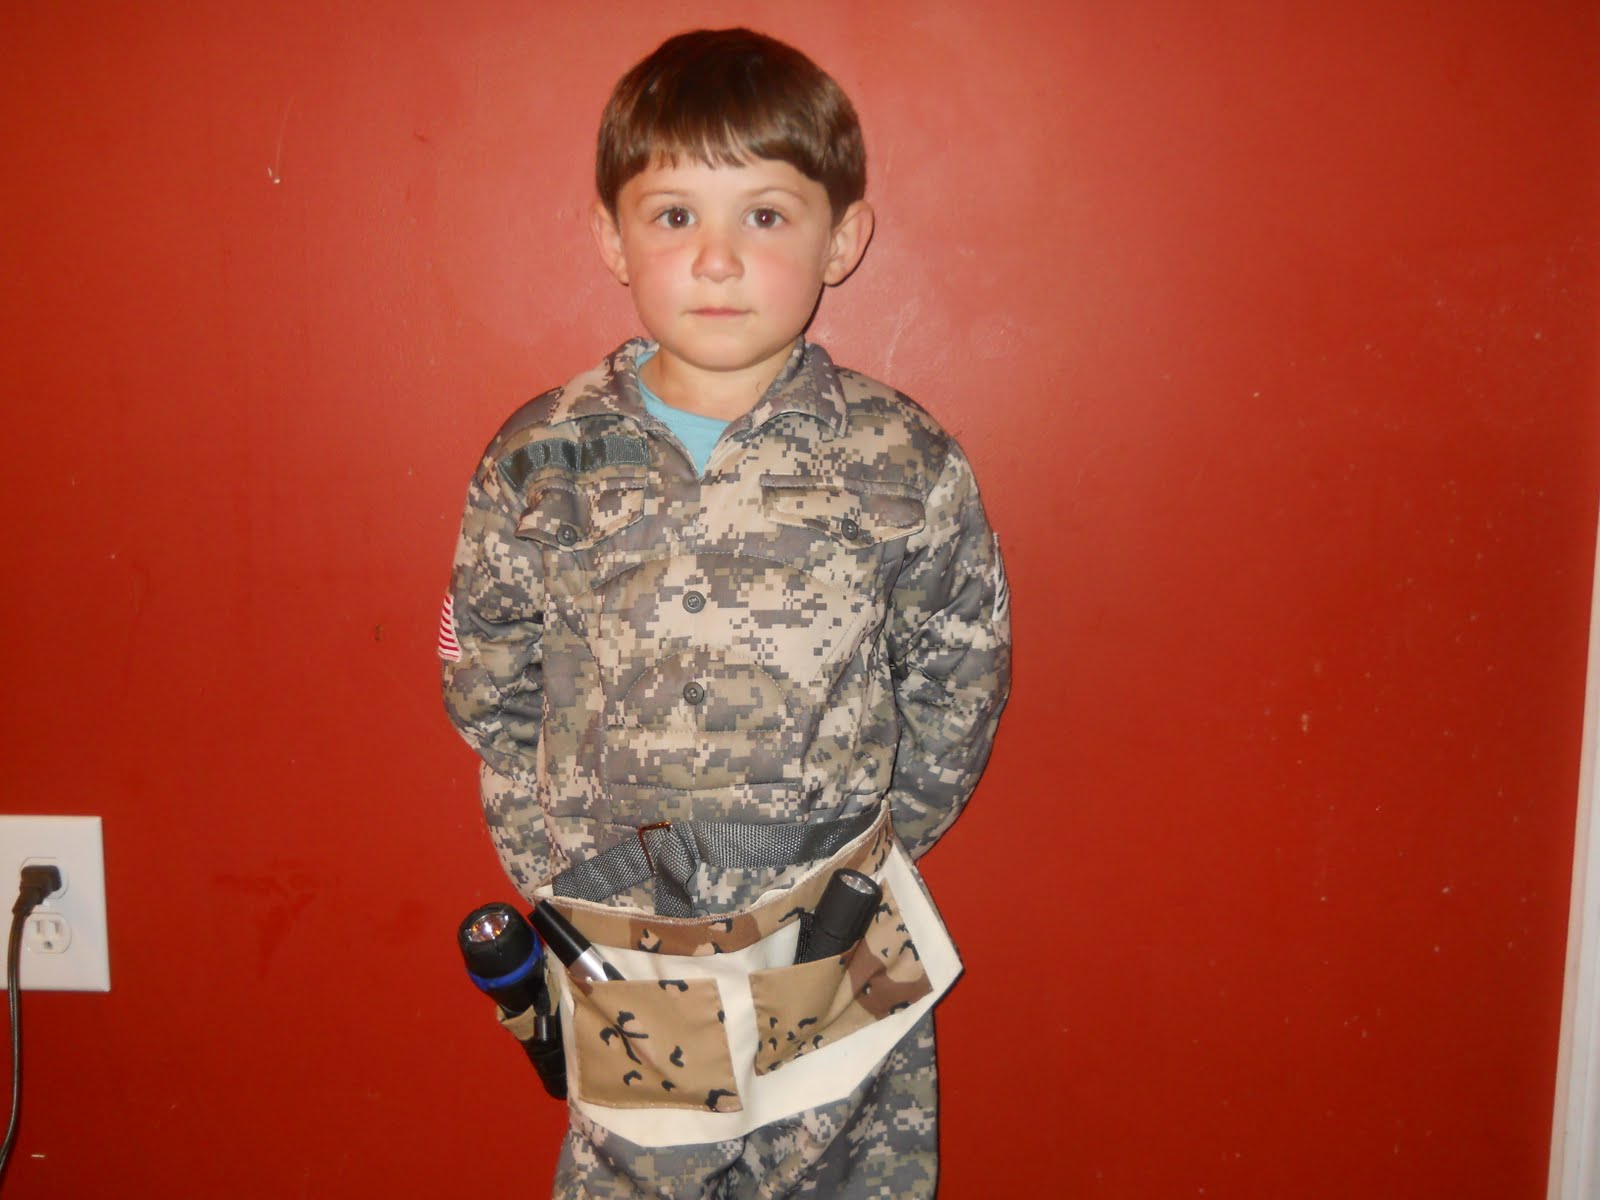
And then of course I gave it to my little guy to model in full army uniform!  (This was not in any way intentionel.. he saw the camo fabric and wanted to play army guys)
And one more of the belt.. a little closer!

Hope you make one for your little army dude too!
I am sharing with


lil luna link party button

Love,
Pinkapotamus