Today we are welcoming the super talented and sweet Lelanie from To Sew With Love! She is one of three ultra crafty ladies who all contribute to make one fantastic blog full of wonderful sewing projects, fun tutorials and etsy finds! Thanks so much Lelanie for being here, I am so excited to introduce you to my followers!
Love,
Pinkapotamus
How are you doing today, lovely blogging friends? I am Lelanie and I am here, in behalf of the other two ladies, Laarnie and Lhorie, behind To Sew With Love, the blog and TSWL, The Shop! We are here because Amie, a lovely and talented bloggie buddy, agreed to swap blog with us! We are really honoured to do a blog swap with a woman of her caliber. We all know how crafty and talented Amie is! (Thanks, Amie, for this opportunity! ^^)
So, the TSWL started as a Facebook group, which I created with my younger sister Laarnie, and just recently we have decided to take the path of blogging. We were a bit hesitant at first but we warmed up right away, at the same time, overwhelmed by the number of so many warm, lovely and crafty bloggers out there.
So we have decided to start this blog named after our group To Sew With Love. My sister Laarnie and my highschool friend Lhorie contributes to the blog. I am a SAHM of two kids (a 5-year old Princess and a 2-year old Li’l Guy) who are my heartbeats while my sister is also a SAHM to her 1 year old and a half Little Princess. Lhorie, on the other hand, is single (and available ^^) and has a cute dog named Kiray. I am in Spain, my sister is in Japan while Lhorie is in China but the distance isn’t a hindrance for us. That’s what makes the blogosphere seem so big yet so small ^^)
In our blog, you would mostly be seeing a lot of repurposing, refashioning and upcycling projects in our blog - which I think is one of the favorite pastimes of crafty mothers like me and my sister.
We also host a Thursday giveaway:

a Crafty Saturday Link-up Party:

a We Pounced It post every Friday:

and every Sunday, our We Love handmade Feature Post.

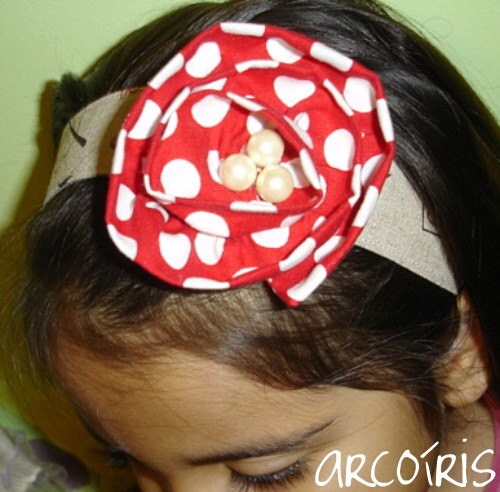
I own an Etsy shop called Arcoíris, which in Spanish means “rainbow”. I love working with colourful fabrics and making something one of a kind out of it. I especially love creating gift sets like this:

I have a BigCartel shop under the same name where I sell handmade hair accesories and rings among other things:

We also have opened very recently TSWL The Shop where we sell some amazing findings and handmade accesories and personalized items:

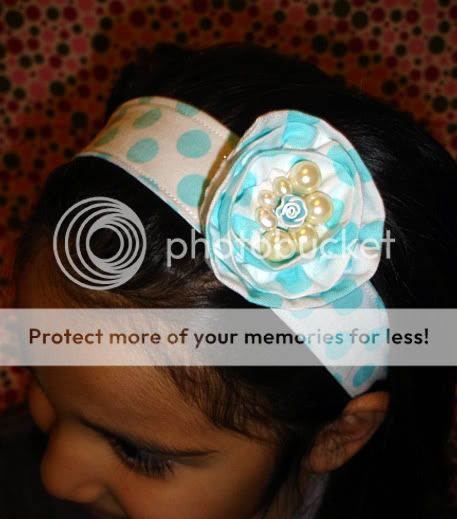
Today, I will also share with you a quick tutorial on how to make a multi-purpose brooch. It could be used to embellish your heaband:
You could use it as a hairclip or as a brooch:

Now, on to the quick tutorial! ^^)
You will need a two felt circles (the diameter will depend on how wide you'd want your brooch to be), brooch pin, hair clip, glue gun, fauz pearls and a fabric strip, 4cms. x 50 cms. Fold your strip in half, lengthwise right sides together. Sew a straight stitch on one of the short side and all through the length of your fabric strip.

Leave one of the short side unsewn, turn your strip through that unsewn side and sew close that side using your desired sewing style. Iron your fabric strip then sew a gathering stitch (use your longest stitch, e.g 5)

Create ruffles by pulling the bobbin thread.

Now, get one of your felt circle. Place one end of your strip about 2cms from the circle's edge. Start sewing, slowly until you use all of the strip. You can adjust your ruffles as you go. When done sewing, take out the thread used for the gathering stitches by pulling on the bobbin thread first.


You could also do it the other way around, starting from the center. Whichever floats your boat ^^)


Now, get the other felt circle. Sew or glue on your brooch pin. If you decide to add a hair clip, cut a small slit where you could insert your clip.
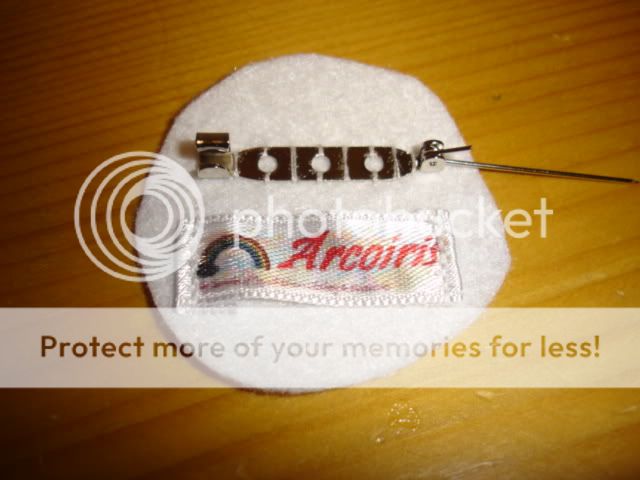
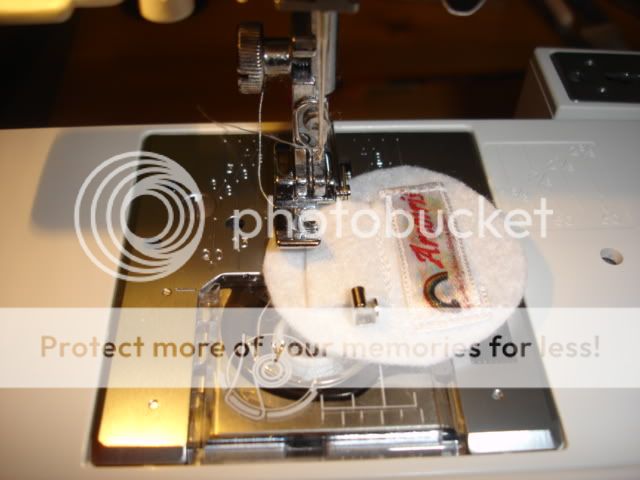

Glue or sew together your felt pieces.


Add your faux pearls add fix with some glue.


Now, it's ready to be used!

If you want to make this jumper dress, too you could find the tutorial here.

I hope you liked our very quick tutorial. ^^)
Muchas gracias, Amie, for this blog swap. We are really honoured to have been given this opportunity. And thank you also to all of Amie's loyal readers for welcoming us here in Pinkapotamus. We had lots of fun!
Hugs,

I'm really liking these flowers and it looks so easy with the sewing machine. Great job. Innovative. Thanks. Linda
ReplyDelete