Friday, January 11, 2013

Hot Air Balloon Tutorial!

Pin It
Earlier I shared this little Valentine!
Today I am going to show you how to make one for your little Valentines!
Ingredients
Photos
Acrylic Paint
Glass Fillable Ornament
Twine (Pick Your Plum)
Valentine Scrapbook Paper
Thin Wood Dowel
Button
Hot Glue
Craft Glue
Wood Block (Pick Your Plum)
Wood Wheel
Optional 
Letter Punch
Scalloped Edge Punch 
Start by cutting out your picture. 
Then hot glue your pic onto your wood dowel with a button on the bottom.
Put your picture into the glass ornament and glue the button to the cap
so it looks like this!
Now paint all your wood pieces.
Next hot glue your twine around your "balloon" glueing it to the base. 
It should look something like this.
Next glue a button on top 
and a circle of felt to the bottom.
Next make small pennants and hot glue them to your twine. 
Then hot glue them to the top of your balloon.
Now it's time to make another pennant to add to the middle.
Then you can hot glue your wheel to the bottom. 
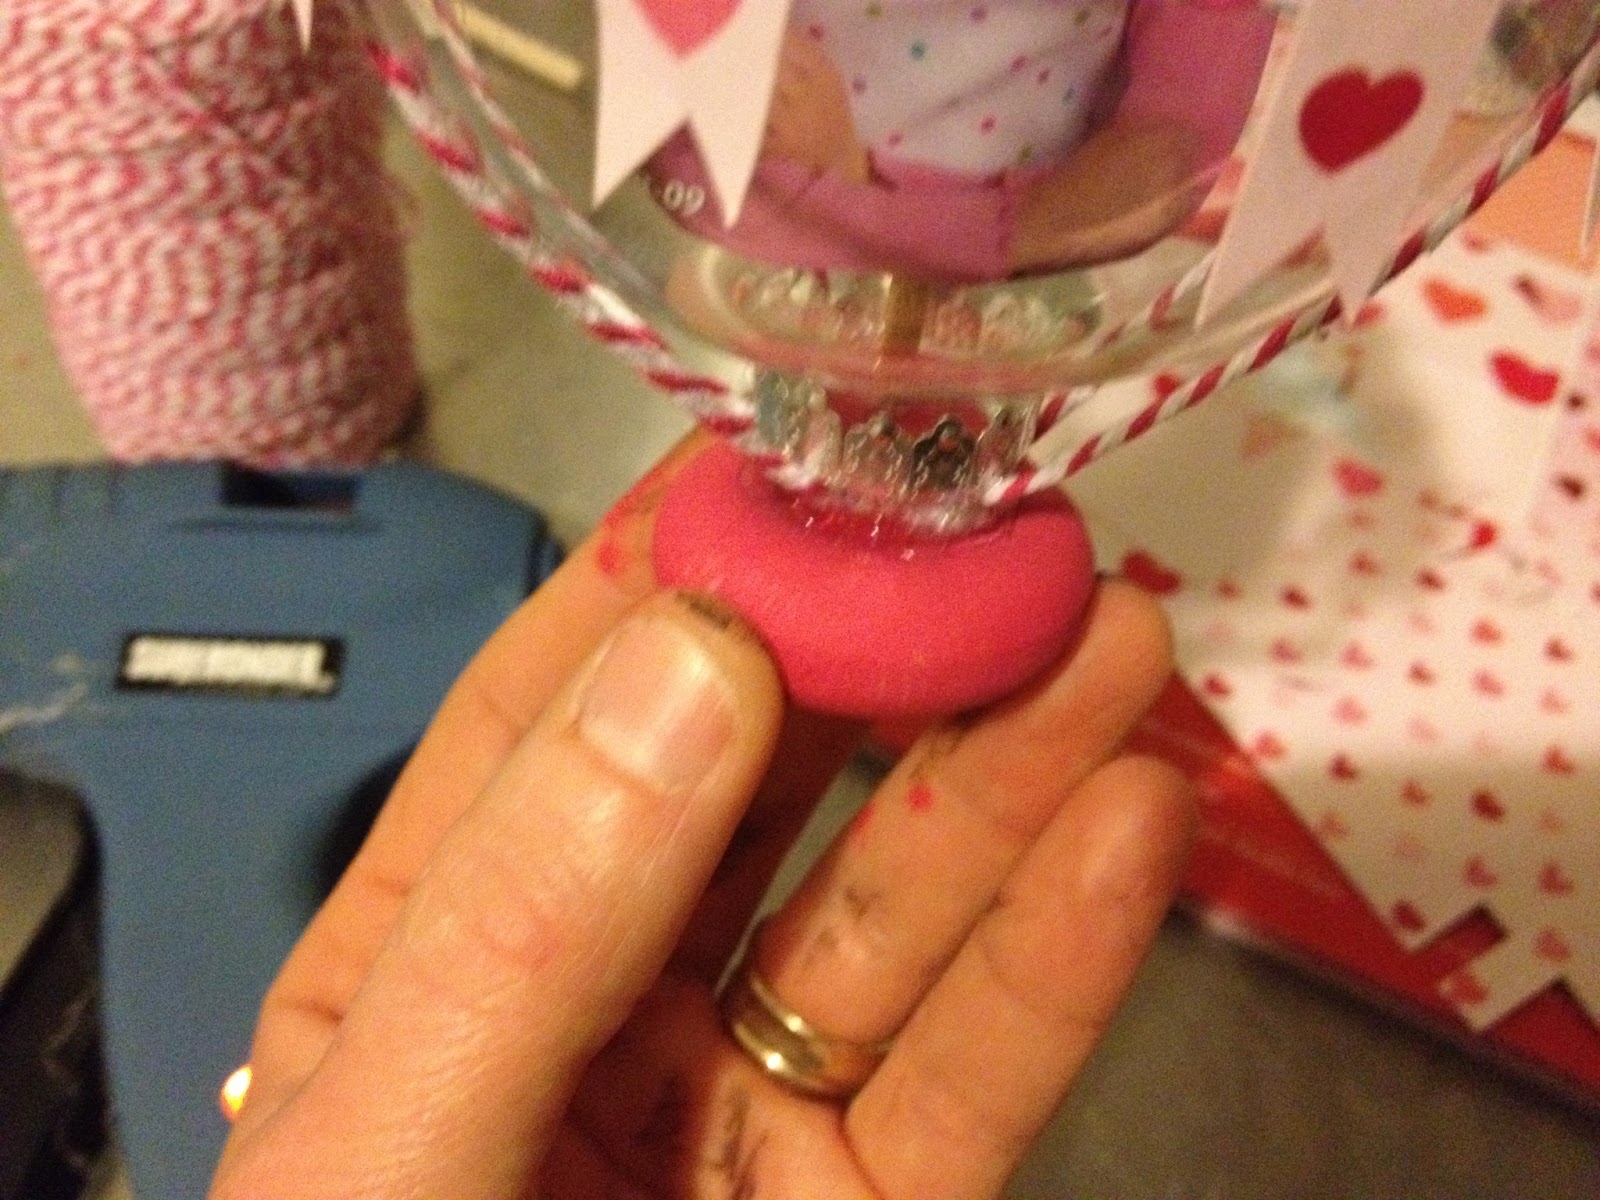
Put your balloon aside and start working on your base.  Make a little scalloped edge
and glue it onto your square and add some other sweet embellishments.
Glue your balloon to the base.
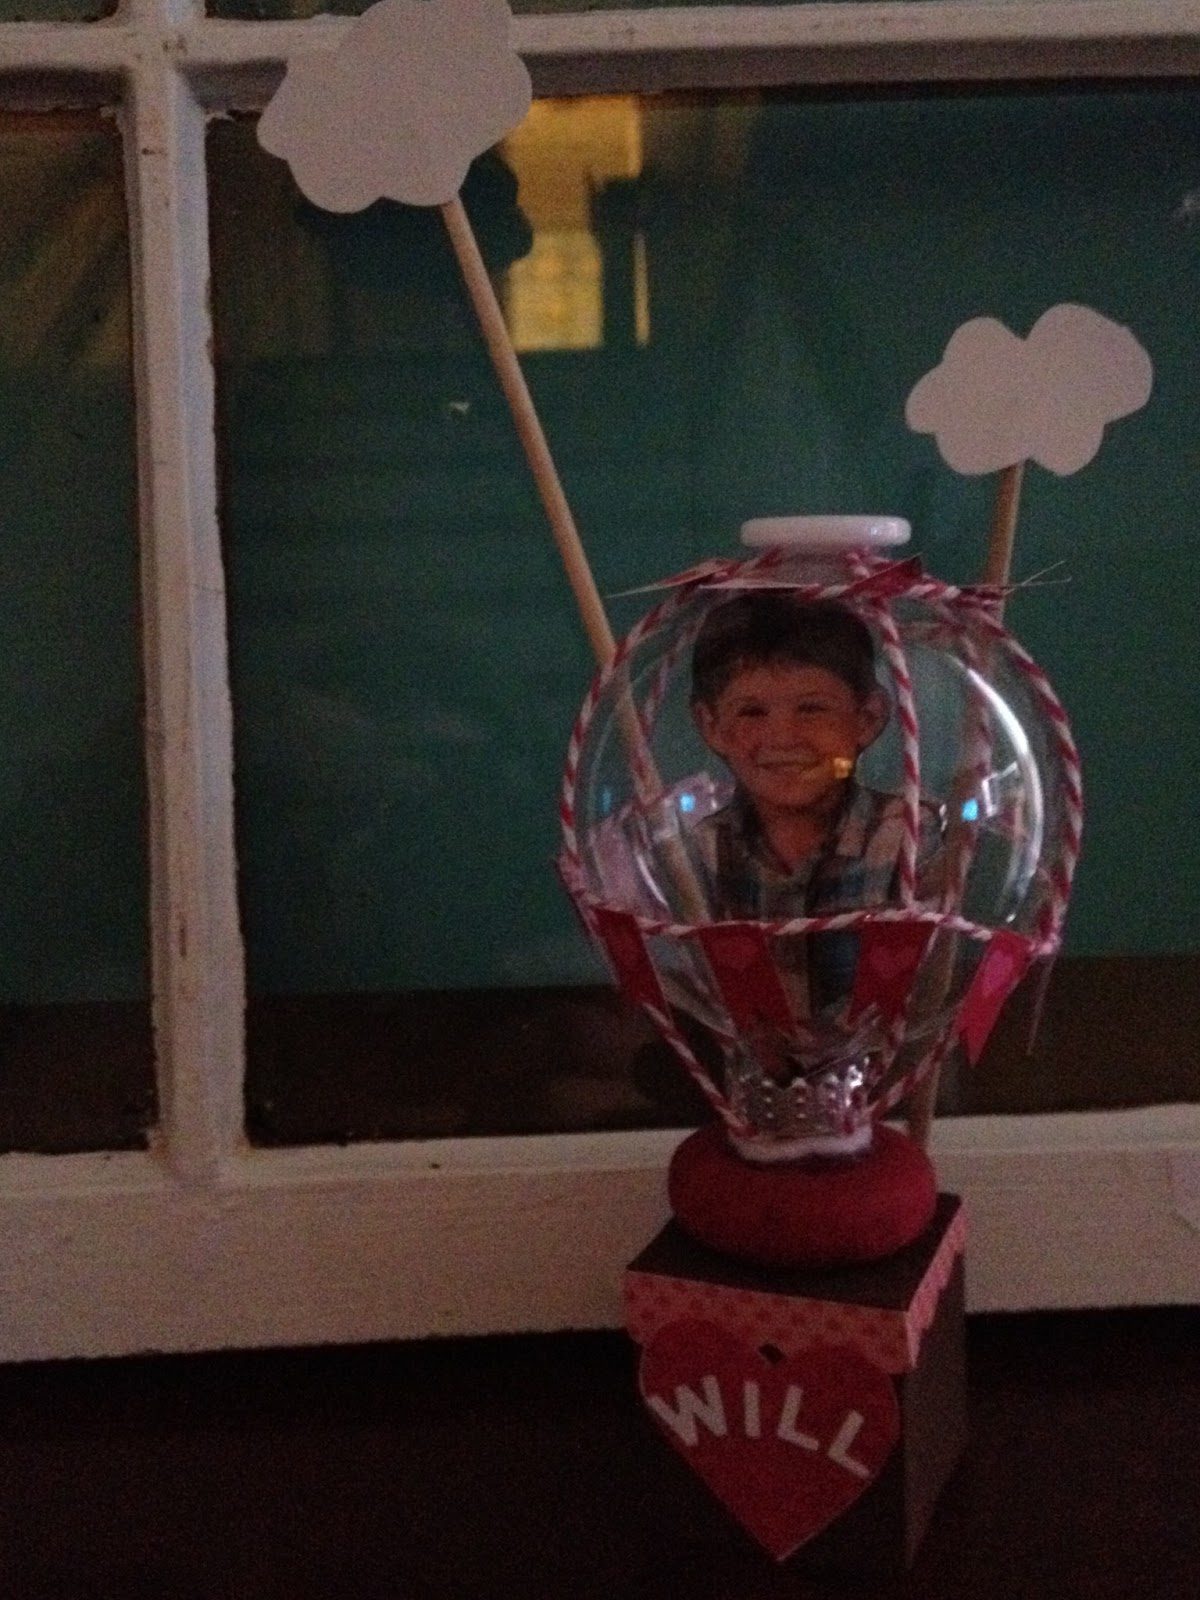
Here are all my little guys!

I added mine to an upcycled window and created this fun Valentine display.
How are you decorating for Valentine's Day?
I am sharing with
The Shabby Nest


The 36th AVENUE

SixSistersStuff.com
Becoming Martha
Love,
Pinkapotamus

Wednesday, January 9, 2013

Hot Air Balloon Valentine

Valentine, you make my heart SOAR!
Pin It
Yup.. he does.. I just love this little guy 
so I made him into a 
Hot Air Balloon Valentine Decoration!
I will be back later with a tutorial..
Hope you have someone who makes your heart soar!
Love,
Pinkapotamus

Monday, January 7, 2013

Pink Hippo Party #110

Happy Monday Pink Hippos!  
Hope you had a great weekend.. I spent mine SUPER cleaning and working on orders!
Here are this week's Features!
First up is Jen at Through My Creative Mind who created this
gorgeous chore chart.. I think I need one too!
Next up is Kathe at Kathe with an E  who created this
http://www.kathewithane.com
 fun and festive New Year's Table.. wish I could party there!
Then we have Pam at Threading My Way  who created this
 adorable art caddy.. I know some mini hippos who would love these!
And last but not least is Ilda at I Love Doing All Things Crafty who created this
 A-mazing artwork for her office.. can you come to my house and organize my stuff.. please?
Now it's your turn to be featured!  Link up, grab a button, be a follower, share some love!

Pink Hippo Party


Love,
Pinkapotamus

Sunday, January 6, 2013

Louvered Door Fabric Storage

I just love repurposing!  Recently my fabric has gotten 
OUT OF CONTROL!  
So I had to find a solution.. and here it is:
Louvered door fabric storage 
Pin It
Here is the Fabric Before
It was semi organized by color but as I used it it got messier and messier and it just wasn't easy to see what I had.  I am a visual person.. I NEED to see things!
I was inspired by this THIS PIN
Use letter holders to store fabric
So I grabbed this door that we had replaced.
 I started by sorting my fabric by color and putting it into the slats.
Then I moved on to the next color and balanced it out 
until I filled the whole top of the door.
I plan on using the bottom for ribbon storage when I get the supplies I need.. can't wait to share!
I am sharing with
mop it up mondays
A Bowl Full of Lemons
Visit My 1929 Charmer Blog!

Love,
Pinkapotamus