What You'll Need
Hot glue gun
Scissors
Ruler
Silk flowers
1/2 inch of ribbon
Craft buttons and/or craft beads
Metal single-prong clips
Little girls' stretchy headbands
>> Hot glue the flower layers back together, one on top of the other.
>> After all layers are re-assembled, hot glue either a craft button or three craft beads in the center of the flower. I chose to use beads for this project.
(2) Attach ribbon to the metal clip. >> Measure out about 8 inches of ribbon. This should give you enough to cover the metal clip completely.
>> Place a thin line of hot glue on the metal clip and attach the ribbon. Do this around the entire clip, so that no metal is showing anywhere.
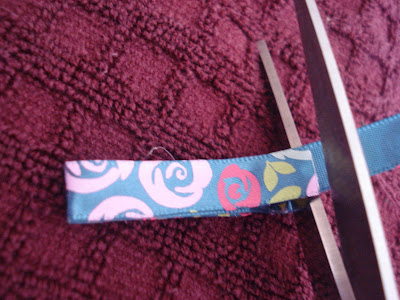
>> Cut off any additional ribbon that's left over.
(3) Attach the ribbon-covered clip to the back of the flower. >> Place a line of hot glue across the back of the flower, in the center.
>> Attach the clip with the flat side of the clip facing OUT.
(4) Attach the newly made flower clip to the stretchy headband of your choice, and Voila!
Other Adorable Variations (and just as easy!)
>> Place a craft button in the center of the flower instead of the beads. Or use a felt object, such as the ladybug I used for my daughter. Round-ish objects are best, hearts also work well.
>> Use a different type of silk flower and place a rhinestone in the center.
>> The flowers can be big or small (I personally think the bigger, the cuter!) Just make sure the type of silk flower you choose can be easily taken apart and its layers easily re-assembled.
>> If your little girl is older (or you just have a baby with lots of hair), you can use just the flower clip in her hair instead of attaching it to a headband. The thing I like about these are their versatility!


No comments:
Post a Comment